Since I have been trying to get more organized lately, I thought I would share my strategy for tackling my ever-increasing project list.
I have lots of lists floating around my house of things I need to do or get or ask Mr. Lemon to do. I have been working hard on compiling a list of everything I have to do with each step written out.
So for example, I have a chair to upholster, I call him Big George. (I like to name my projects... I know...weird.) Anyways, I bought Big George on a thrift store trip with Trina a while back and he just sits up in my sunny second floor, awaiting his overhaul. The steps I will take to complete Big George will be:
1. Paint or stain
2. Rip the fabric off
3. Purchase new fabric
4. Reupholster
5. Add cushions, since he came to me without any cushions. Sad but true.
6. Find a new home for him
I made a detailed list for each piece of furniture or each sewing project. Writing out each step will help me to work on multiple projects- I can do several pieces that need painting or staining at one time.
I can also check off each step I have completed to feel more accomplished. Instead of feeling overwhelmed with all I have to do yet, thinking "Oh my! I have not completed Big George!" I can say: "I painted him and purchased his new fabric"! So much better! I am on my way!
If I showed you my project list you might think I was a crazy person, so I will keep that to myself for now...
What kind of strategies do you implement to get your projects done?

Saturday, April 14, 2012

Friday, April 13, 2012
Let's Get Organized! Part 2
Yesterday I shared my new grocery list pad. It is working well for me- how did yours turn out?
Today I am going to share another organizing tool that I made: a daily schedule.
I know these last few posts may be boring, but without organization, my world is, well, disorganized.
I made my daily schedule to help me with my time-management. This is a daily ongoing struggle for me. I used to think that having a set schedule each day would really stiffle my creativity, but it is not true! Having a schedule actually frees me- I know when I can and cannot do things. It helps me to tame my wandering thoughts/ideas, and my sporatic behavior, and provides time for fun things I want to be able to do.
It also carves out specific time for myself and for my art. I always pushed that time back and put other people and whatever else first, and then frantically tried to squeeze in time for all my projects. This was not working for me at all. I do love to spend time with my friends, but now I am (attempting to) schedule that 'fun' time around my art time. Recently, a friend said to me that if I believe that Christ gave me these gifts and talents to be creative, I had jolly well use them for his glory and make them a serious priority. So true! Thanks, friend, for speaking wisdom and truth to me.
One more thought on time- time is a gift. God is really changing my attitude about time these days. Some of you already know this, but I don't have a full time job, or children. These things that I do not have may seem minor to you, but when looking around at other women- even within my own circle of friends- I used to feel so uncomfortable and out of place. My friends are either successfully working in their careers or becoming mamas. I often wondered where I fit in my community.
Well recently I have been asking God to change my heart, I have been reading different books about growth and grace and I have been spending more time in His word. I have been learning that time is a gift- not everyone has it, but everyone wants it. Time to spend with family, time to finish tasks, time to rest or go on vacation, or just more time to get dinner on the table! My eyes are opening to the fact that I have time. I have time to serve my church, my friends, and time to work on all the projects I have been meaning to get to. So if I have time to do things in this current season in my life, how can I use that time to bring glory to Jesus? One way is to use the time I have to use the talents he has given me. This is where the weekly schedule project comes in to play. If I can have a visual reminder of the time I can use for different tasks, I can be a better wife, a better friend, and a better Johanna. Instead of filling my time wondering why I don't have what my friends have (jobs, children) I can use what I do have to bless those around me. This makes a more joyful use of my time.
Well, let's get to it, then!
I used an old frame I had from my big bin of frames and boards. I added some burlap for texture and glued my blank schedule to it. Then I cut out little pieces of cardstock in soothing grays and creams to make my set time chunks: art time, work, church, deep cleaning/laundry, Bible study, and my knitting group. I glued these in the appropriate time slots and put the frame back together. I can use a dry erase marker or a permanant marker to write in things that I have scheduled each week.


I am happy with how it turned out- it is clean and shows me what I am supposed to be doing. Now I just need Mr. Lemon to help me hang it up.
What about you? What are you working on in your life? How have you been using your gifts and talents to glorify God?
Thursday, April 12, 2012
Let's get Organized!
I thought I would make a few things to get organized around here, so I am sharing a couple of my latest projects.
The first project is a grocery list pad. You have seen these or even used them- they are list paper that are designed to help you shop for groceries with categories like "meat", "frozen", "personal" and so on. I couldn't continually use them because I do my shopping for certain things at different stores and I would forget what I really wanted to purchase at each store and buy things impulsively...
So I decided to make a list pad divided by the local stores where I do my shopping: Giant, Produce Junction, Aldi's, Target and a box for Other. I will use the "other" box for stores I don't go to each week but have something I need- maybe Wegman's, or Walgreens, or something.
The division helps me to remember what I want to buy where, instead of forgetting or buying things I can't actually make a real dinner with (can you say lemon cake mix?)
Would you like to make one of these?
Here is what you need:
Thin cardboard- I cut mine from a cracker box. You could use a cereal box.
Hot glue
Elmer's Glue
Binder clip
Magnet strip or discs
Scrap of decorative paper
Document for the list pad
Paper cutter or scissors
Step 1- Make your document.

Here is the document I created to make my list. I fit three to a regular-sized piece of printer paper (8.5x11). You can use mine if you shop where I shop, or make your own in Word or Publisher.
Step 2- Print a bunch of copies- maybe 20-30 if you have three per sheet.
Step 3- Cut your paper to size.

Step 4- Stack the paper you just cut into a neat pile, lining up the tops. Use the binder clip to secure the stack.

Step 5- Cut your cardboard to size.

Optional Step 6- Cut your decorative paper to size. I used paper to cover up the image and logo from the box I used. You won't really see this paper until you get to the end of your list pad, but it will look more finished than an image of saltines and some kind of pink dip with olives. Ew.
Step 7- Use a little Elmer's Glue to attach the decorative paper to the cardboard.
Step 8- Line up the papers and cardboard by the top short side. Adjust the binder clip to hold everything together.
Step 9- Generously hot glue along the top only. You can smooth out the glue if you like to risk burning your fingerprints off like I do. If you get glue along the sides, your paper will not be able to rip off!

Step 10- Hot glue your magnet strip or discs to the back.
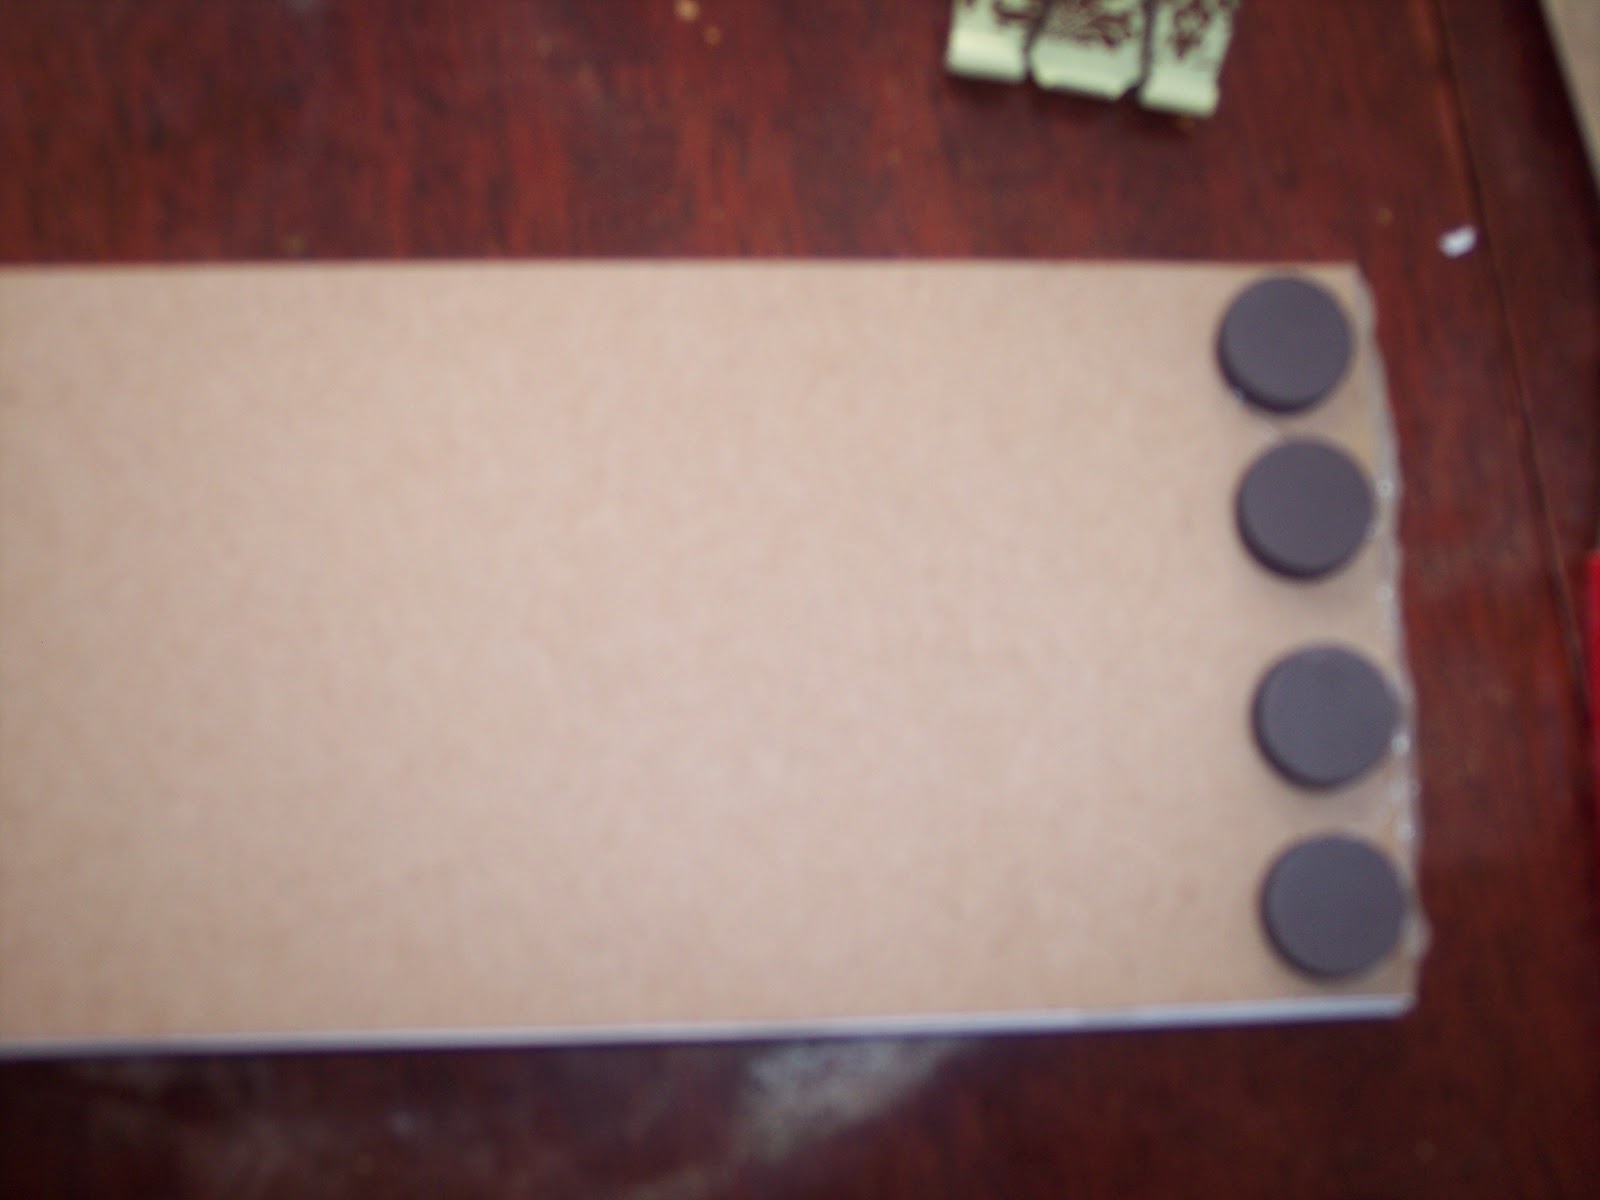
Ta da!

I hope this was a fun little project for you.
P.S. If you have made a dinner from lemon cake mix, do share!
Tuesday, January 24, 2012
Night Bandits
Last night I went to pick up Mr. Lemon from the train station.
As we were driving home, I spied a dresser.
You know where this is going...
Now, it had been raining- actually pouring- for most of the day, but I still wanted to check it out. After I convinced Mr. Lemon with "I just want to pop out and see", I made a somewhat illegal u-turn. Shh!
Crazy parking, check.
Flashers on, check.
Measuring tape in hand, check.
It was really dark, but I could see (with the help of car headlights) that despite one missing knob, the dresser was in great shape, and didn't have any rain damage. Immediately, I schemed how to get it into my car.
It was so heavy! Lucky me, I am married to Mr. "I-can-lift-anything"-Lemon! Just as we started to move it together, the homeowner came out.
Yikes! We were caught red-handed taking this guy's trash!
No worries- he said he had two more dressers and a mirror he was bringing out.
As the homeowner described the other two pieces, I thought, it is a good thing we came by to nab this dresser- how in the world was that guy going to get the other two down a flight of stairs all by himself?!
While Mr Lemon helped our new best friend with the other two dressers, I called Trina with a full report.
She has been looking for a low, wide dresser to turn into a fabulous something that I won't divulge here (save that for later). She also has a similar dresser in her girls' room, so I thought I'd give her a buzz to see if she wanted either.
Trina drove over to where we were to see for herself. She wound up taking both and a mirror to boot!
Score one for The Lemon Poppy Cottage night bandits!


This is my tall dresser. (I can't close one of the drawers until I attach a new pull otherwise it is a beast to open.) I put it in my sewing room... for now.
Trina's sweet hubby and Mr. Lemon are buddies and often the victims of our curbside furniture discoveries. But I will tell you one thing, we are happy to each be married to supportive, loving men. Thank you for keeping us in check, and nudging us to tackle our ever-growing lists of projects.
Thursday, January 19, 2012
Goldie
On the way home from Zumba yesterday, this gem was sitting outside a favorite treasure hunting locale.

I was immediately drawn to her curves and tufted back.
She has cane sides, golden velvet fabric, and a French-y silhouette.
Now she is mine.
Hurray!
I was smiling the whole way home.

She has a few little flaws, but who doesn't?
I cleaned her and placed her in my dormer window upstairs.

While she basks in her new sunny spot, I make plans and collect ideas for her makeover.
Anyone have any ideas?
Please share- I'd love to hear what you think!
Saturday, January 7, 2012
What to do With a Your Hubby's old socks

This project is so cute you are going to run and tell someone about it as soon as you see what it is.
You may be thinking, how do I make my husband's old socks look cute? They weren't even cute to begin with!
Argyle, striped, plaid or contrasting toe socks may induce more yawns than ooh's and ahh's as they patiently sit in your hubby's top drawer awaiting their next outing.
That is until they look like this:

Tell me you didn't just squeal with delight.
Don't lie now.
I know you want one.
I made this funny dog for my Pittsburgh gal pal's little boy. I told him he could name it. I can't wait to hear what his name is!
Ok so I technically didn't swipe one of Mr. Lemon's socks. Mostly because he has boring ones. I bought mine, but you could easily raid the drawers of your husband and sons while they are distracted...
This dog is made from one sock, so don't go tossing those stranded socks you shoved into the back of your laundry room cabinet.
Here is what you need:
Uno sock-o (Remember the larger the better! Look for pattern or make yours plain.)
Needle and Thread or a sewing machine. (I hand-sewed mine),
Button for nose
Stuffing
Ribbon for a collar
Now what to do with those ugly ties he insists on wearing....
Friday, January 6, 2012
Christmas Cheer
Hey Friends!
I apologize for the recent neglect on my part.. I have been working hard on secret Christmas and winter birthday projects for a while now. But in all my secretive crafting I failed to capture any quality photos. Whoops.
Anyways.. I made some fun things for my family this year for Christmas.... brought to you by Pinterest, of course. It was the first Christmas in a long time that I was able to make gifts. For the past few years we have either just moved or were in the throws of packing to move, so my boxes of future ingenious gifts/ projects were boxed away or in storage.
But no more! Hurray!
Since I have been teaching myself to knit, I made scarves for my sister and sister-in-law and my pal Celia (sorry for the spoiler, Celia... someday we will exchange gifts...). Each one was different- Jenn's was a purple infinity scarf, Rachel's was a creamy white cowl, and I won't ruin the surprise any more for Celia.... I will post on that masterpiece later....
For my brother-in-law Nick I made him a sweet set of coasters to go with four pilsner glasses and a large glass bottle for his home brewed beer. The glasses had chalkboard paint on the bottom rims and the bottle had chalkboard paint in the middle for him to label his concoctions. I would be remiss if I left the chalkboard areas blank, so I put witty little sayings on each one ("Johanna is the coolest" "Drink this"..etc).
I also sewed fabric baskets for my sister and sister-in-law and filled them with all the random little gifts I pick up throughout the year. I sewed my mom a few Scrabble tile pillows of her initials, as an homage to one of her favorite games. Wait until you see the cuteness I made for a little friend... my step dad loved it so much I made him one! Check back for a forthcoming post on it! For my brother I made a fireplace kit, complete with matches. It wasn't until later that I discovered that his fireplace is gas... oh well he can still use the firestarters in his fire pit.

I also made some yummy white chocolate peppermint popcorn to give to friends.

Side note: my favorite word in Portuguese is the word for popcorn: "pipoca" (pee-PO- ka). Try saying it- I promise you will smile.
Melt the chocolate while you pop the popcorn, then add the crushed peppermints to the melted chocolate. In a big bowl, pour the chocolate mixture over the popped corn and stir to coat every bit. Once well-coated (you will have to work kind of fast) spread the covered popcorn on a baking sheet covered in wax paper. Let the chocolate harden and then eat or package it up to give as a tasty gift. The hardest part was keeping Mr. Lemon's quick fingers away... all in all it took about 15-20 minutes to make. It would also be yummy with milk or dark chocolate and peppermint... mmmmm.
Subscribe to:
Posts (Atom)