
I thought I would make a few things to get organized around here, so I am sharing a couple of my latest projects.
The first project is a grocery list pad. You have seen these or even used them- they are list paper that are designed to help you shop for groceries with categories like "meat", "frozen", "personal" and so on. I couldn't continually use them because I do my shopping for certain things at different stores and I would forget what I really wanted to purchase at each store and buy things impulsively...
So I decided to make a list pad divided by the local stores where I do my shopping: Giant, Produce Junction, Aldi's, Target and a box for Other. I will use the "other" box for stores I don't go to each week but have something I need- maybe Wegman's, or Walgreens, or something.
The division helps me to remember what I want to buy where, instead of forgetting or buying things I can't actually make a real dinner with (can you say lemon cake mix?)
Would you like to make one of these?
Here is what you need:
Thin cardboard- I cut mine from a cracker box. You could use a cereal box.
Hot glue
Elmer's Glue
Binder clip
Magnet strip or discs
Scrap of decorative paper
Document for the list pad
Paper cutter or scissors
Step 1- Make your document.

Here is the document I created to make my list. I fit three to a regular-sized piece of printer paper (8.5x11). You can use mine if you shop where I shop, or make your own in Word or Publisher.
Step 2- Print a bunch of copies- maybe 20-30 if you have three per sheet.
Step 3- Cut your paper to size.

Step 4- Stack the paper you just cut into a neat pile, lining up the tops. Use the binder clip to secure the stack.

Step 5- Cut your cardboard to size.

Optional Step 6- Cut your decorative paper to size. I used paper to cover up the image and logo from the box I used. You won't really see this paper until you get to the end of your list pad, but it will look more finished than an image of saltines and some kind of pink dip with olives. Ew.
Step 7- Use a little Elmer's Glue to attach the decorative paper to the cardboard.
Step 8- Line up the papers and cardboard by the top short side. Adjust the binder clip to hold everything together.
Step 9- Generously hot glue along the top only. You can smooth out the glue if you like to risk burning your fingerprints off like I do. If you get glue along the sides, your paper will not be able to rip off!

Step 10- Hot glue your magnet strip or discs to the back.
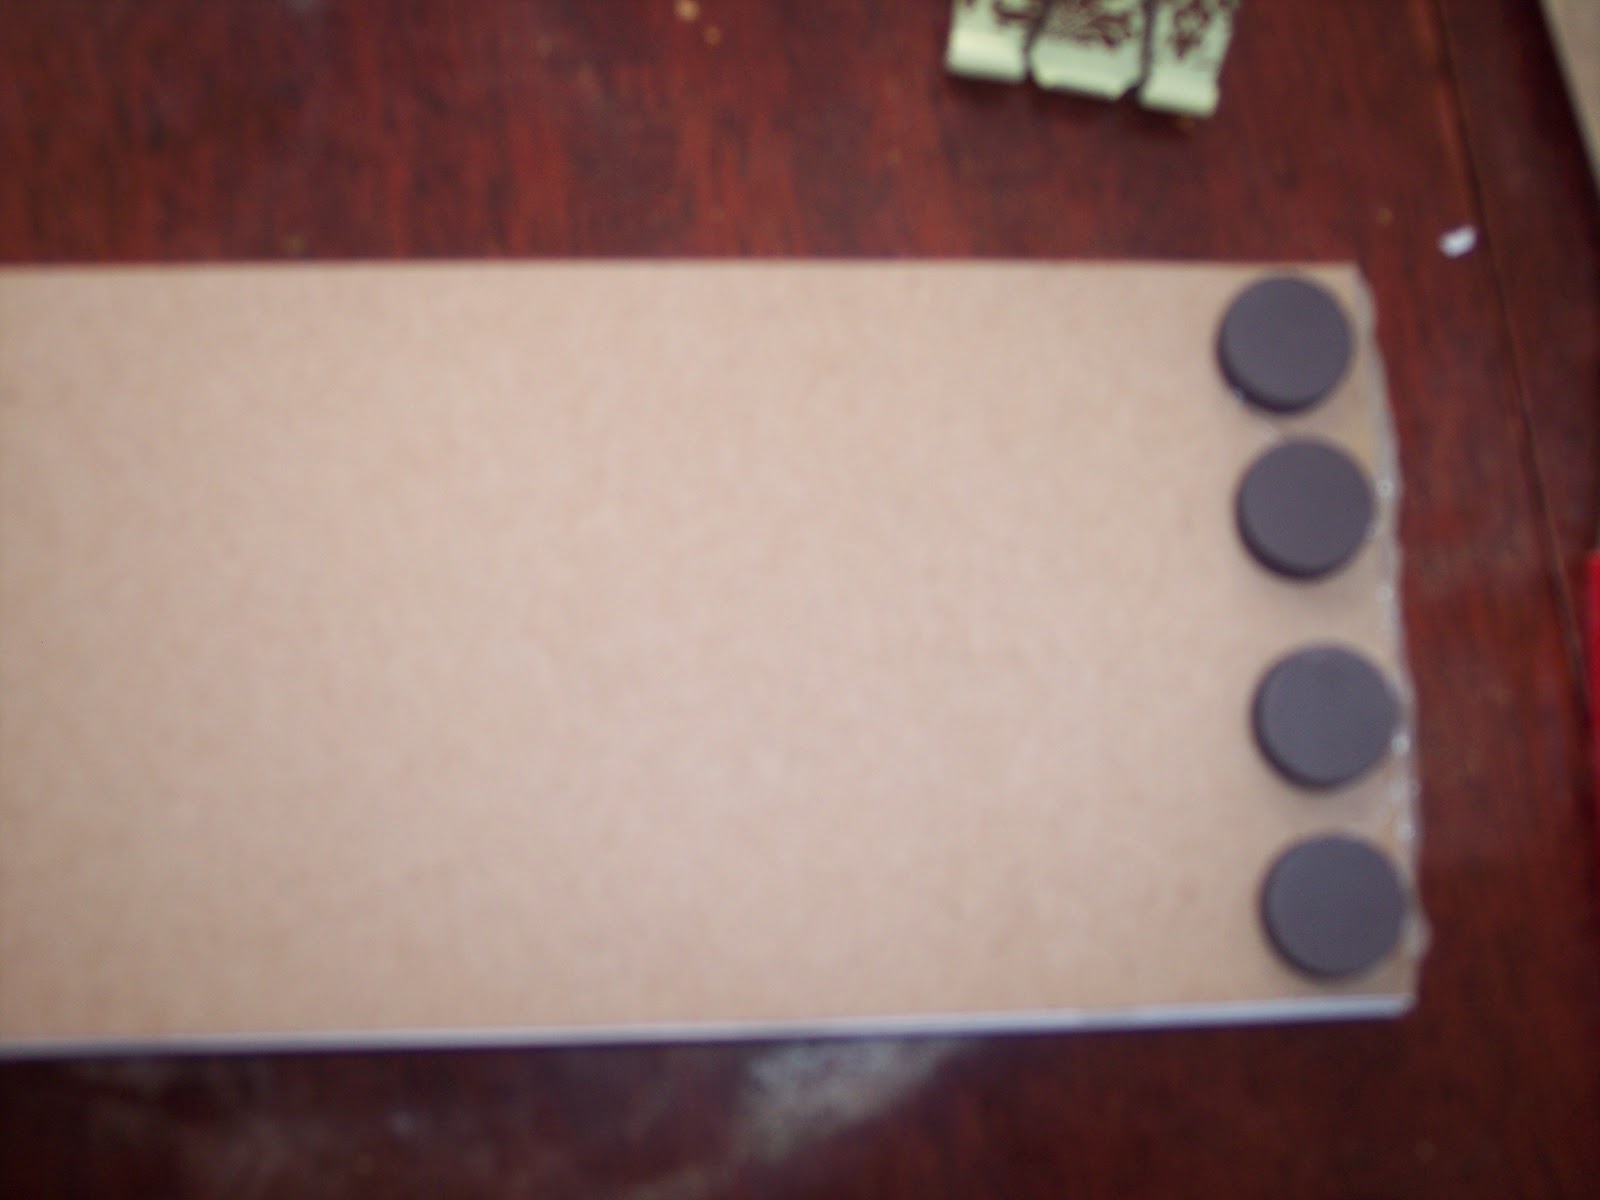
Ta da!

I hope this was a fun little project for you.
P.S. If you have made a dinner from lemon cake mix, do share!
No comments:
Post a Comment